TRICKS/DIY
Choosing and building your own pergola
In the past year, many have discovered the pleasures of construction, renovations or decorating projects. Whether it’s putting your knowledge into practice or giving it a whirl for the first time and exploring the wonders of saws, screwdrivers, while building your DIY pergola in your backyard. Pergolas are low maintenance, simple to build and great for having a good time. So what are you waiting for to get started?
What is a pergola?
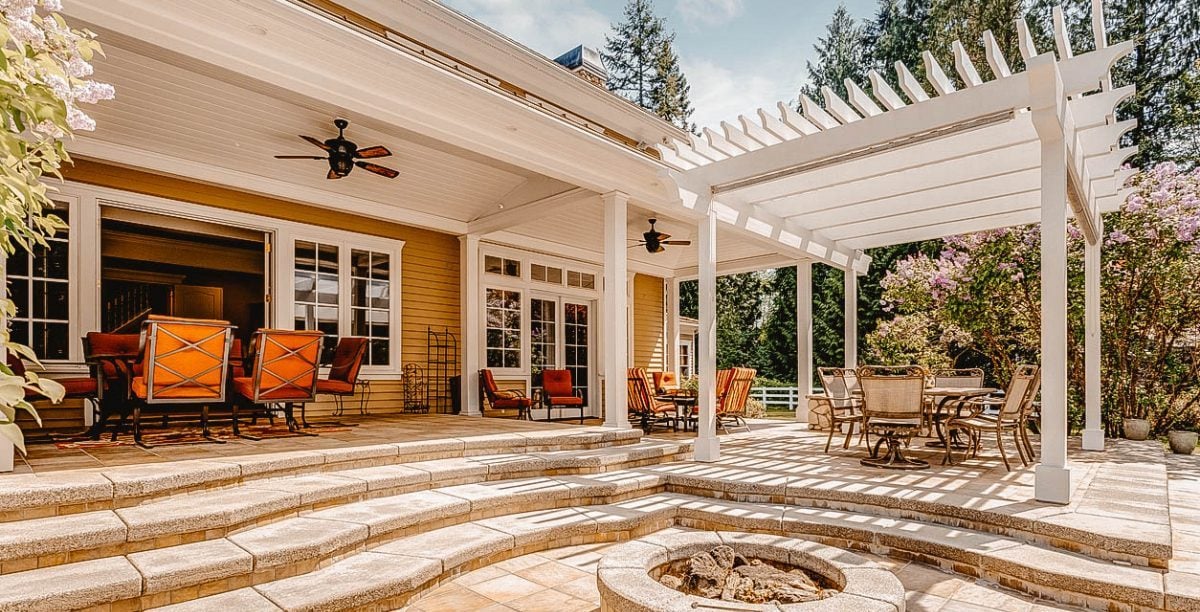
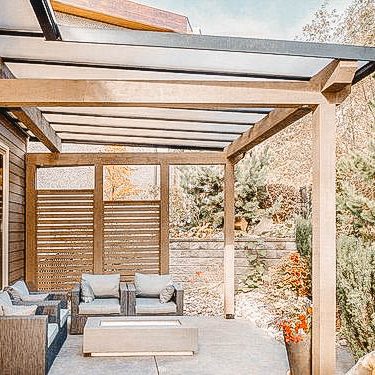
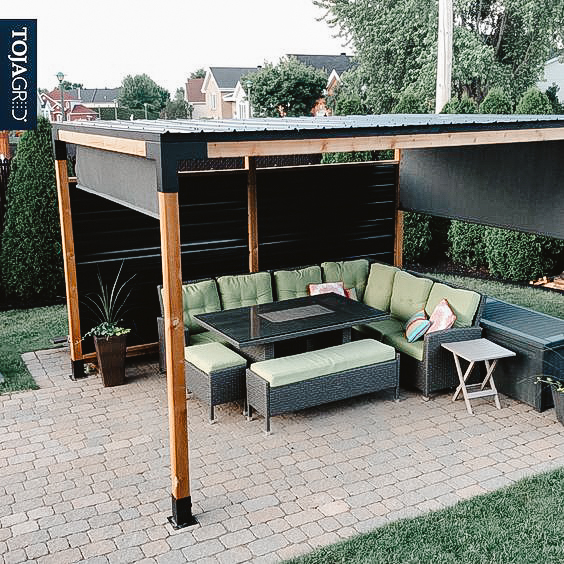
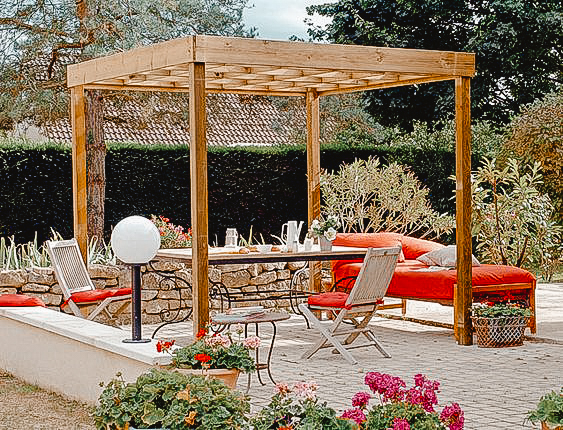
A pergola provides a shaded space for a terrace, garden or even a parking lot. This installation is the ideal spot for your chairs and decorations making it the perfect place to relax. So-called back-to-back pergolas are attached to an exterior wall, often that of a house. Free-standing pergolas are supported by four pillars and can be set up anywhere, so that their foundations are solid. Putting them in the middle of your garden will allow you to enjoy your surroundings. Also, building them at at angle in a corner will provide more privacy.
First Step : Preparation
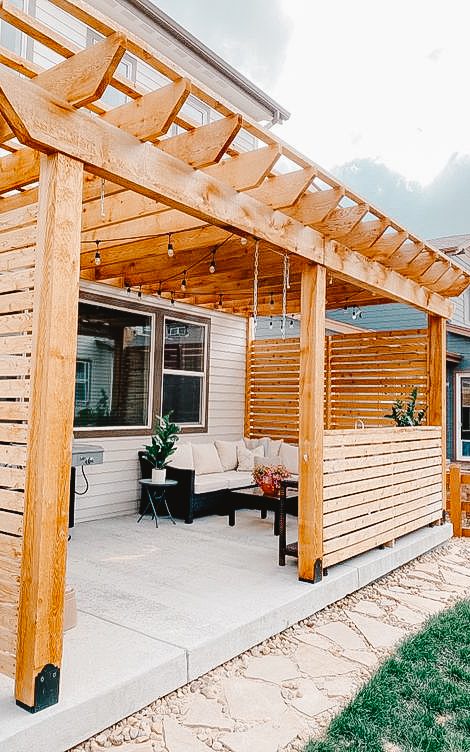
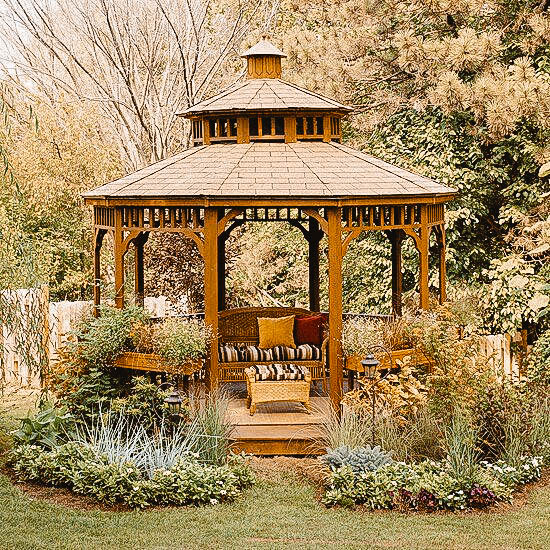
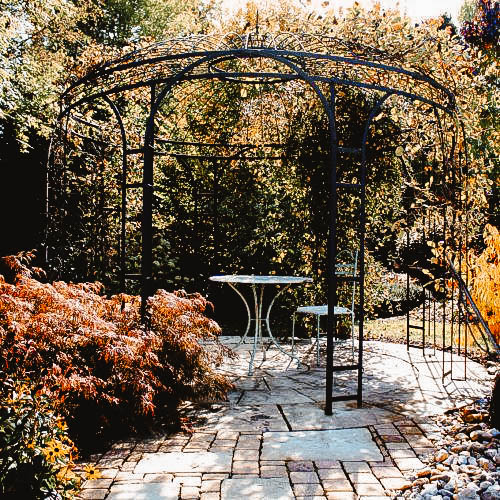
You must first analyze your living space and your needs in order to select the type of pergola that suits you. For example, a canopy pergola is a shelter with a roof, leaning against a wall. The arbor is a freestanding pergola which can move and can be dismantled. The classic gazebo looks like a small house and is in the shape of a circle. The gazebo is also self-supporting and is made of a hexagonal or square metal structure. It often houses garden furniture.
Wisely choose the lengths of your pergola, because once cut, the pieces of wood, iron, or PVC do not glue back together! You must decide the length of the three parts: the uprights, the rails, and the slats. Now is also the time to delimit where the installation will be located in your backyard. Stakes and a rope can help you visualize the project. Above all, remember that the uprights can only be separated by 150 cm or less to ensure sufficient stability.
Second Step: Foundations
Simplify your life by using Postech Piles when installing your foundations, it’s the perfect solution! Screwed below frost level, these hot-dip galvanized thermal piles offer great stability and durability withstanding over 75 years. Postech Piles certified installers will advise you on the right choice of piles, in addition to offering a quick installation and no damage to your property.
Third Step : Fix the installation
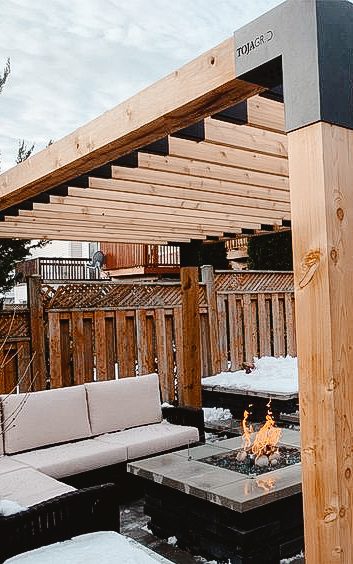
You’ll have to drill the slats through and through to screw in the screws. Then, install the slats horizontally on the posts with lag bolts fitted with washers. The traverses are placed on the slats by holding them in place with wood screws. The traverses often exceed the posts by 20 centimeters.
Fourth Step : Finishing and maintenance
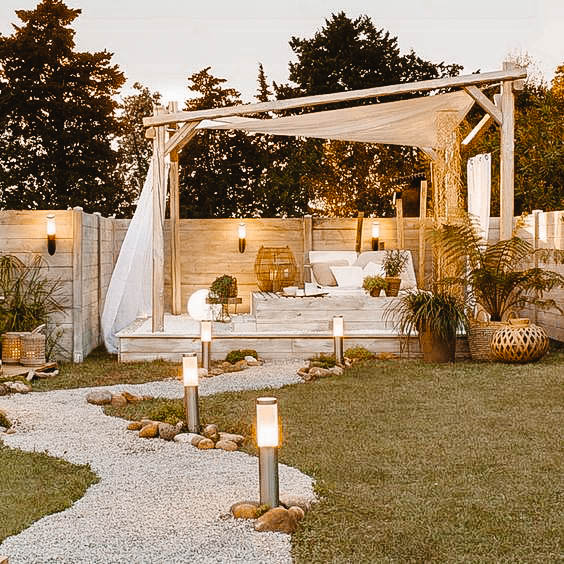
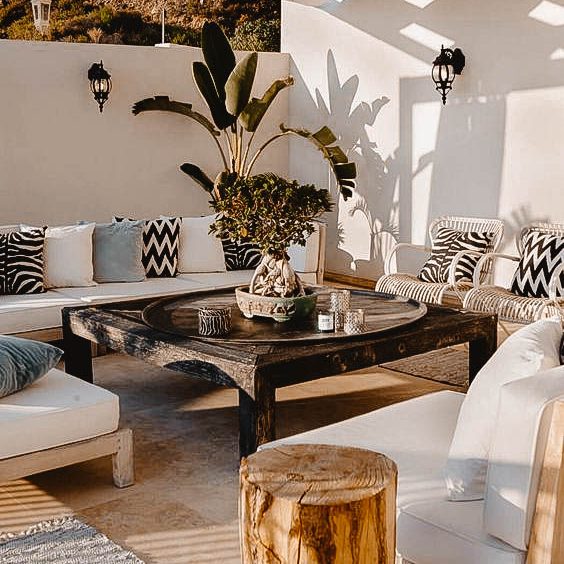
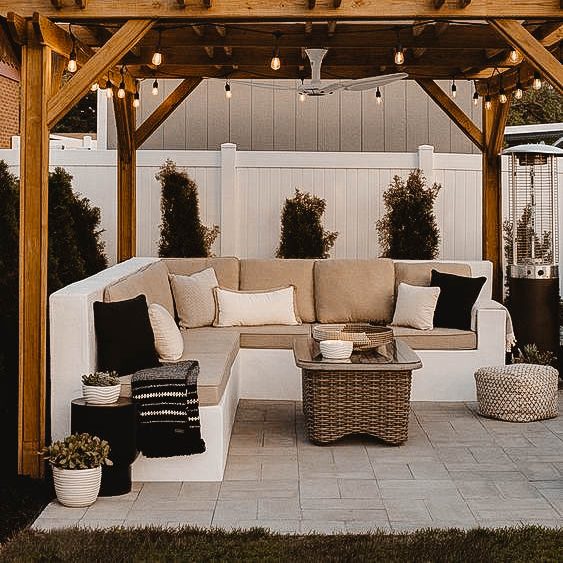
Once your installation is complete, if you chose the wood model, you must sand and then paint or stain your pergola. Every year you will need to inspect it to see if any wood is rotting. If so, you will need to treat your pergola with a wood preservative. Now the best part, you get to decorate your haven. Drooping plants and fashionable cushions will give you pergola a personalized touch.
Sources
Comment fabriquer soi-même une pergola ?
Une pergola en bois dans sa cour pour en faire le plus bel endroit de sa maison